Many people have posted about how to cover (plain white) lamp shades with fabric. And I thought I was going to follow their directions. I did roll the shade along a big piece of paper and trace it then cut out the fabric with enough margin to fold over top and bottom. But then I wanted to see how it looked so I thought I would just pin the back seam with a straight pin.
It took 3 tries to get the fabric even on the shade. And I was thinking, I am going to make a real mess trying to get the fabric on straight once I spray adhesive on the shade. I liked the look. A bit later I wondered what dh did with the spray adhesive so I could finish. But you know what? I decided to just fold over the top and bottom and glue right then and there. No spray adhesive on the body of the shade.
Skip this paragraph if you don't want details!: First I trimmed the seam at the top and bottom to be even. Then I turned over a little edge then folded down so I would have a finished edge and no threads. Held it together with clothes pins along the way. It took several steps as I waited for previous clothes-pinned parts to dry. Also I left a few inches the seam ends that were on top loose until I was ready to deal with the seam down the back. Finally I turned the long edge under and glued the back seam. Then I could do the last several inches of top and bottom. I held the middle of the seam with a straight pin and clothes pins at the top and bottom. (If you hot glue, don't pin, it probably wouldn't come out.) Do other people skip the spray adhesive? (I guess you could skip the pattern with adhesive, but I probably wouldn't want to do that.)
The bummer part is I (luckily) bought a whole yard of this fabric (54 inches wide) thinking I would do something else with what is left. The cuts were both through the line in the pattern that had birds! So I basically cut my shade out of the middle to get one of the birds on it.
Below is my grandpa's old rocker which I got from my mom's cellar yesterday. I've just done a preliminary cleaning. I'm planning to fix it up for my new woman cave. Any suggestions? I'd love to see pics of what other people have done with similar chairs. The lamp is also for/in my new room. I've not posted a lot lately because I have a lot of non showy projects going on that must be done to complete that room. I'm shooting for it to be presentable, though not done (I want to reupholster a recliner, that won't even be started), by December 7. (You can see my pale green walls, and my recliner with a drop cloth thrown on it in the lamp pic.)
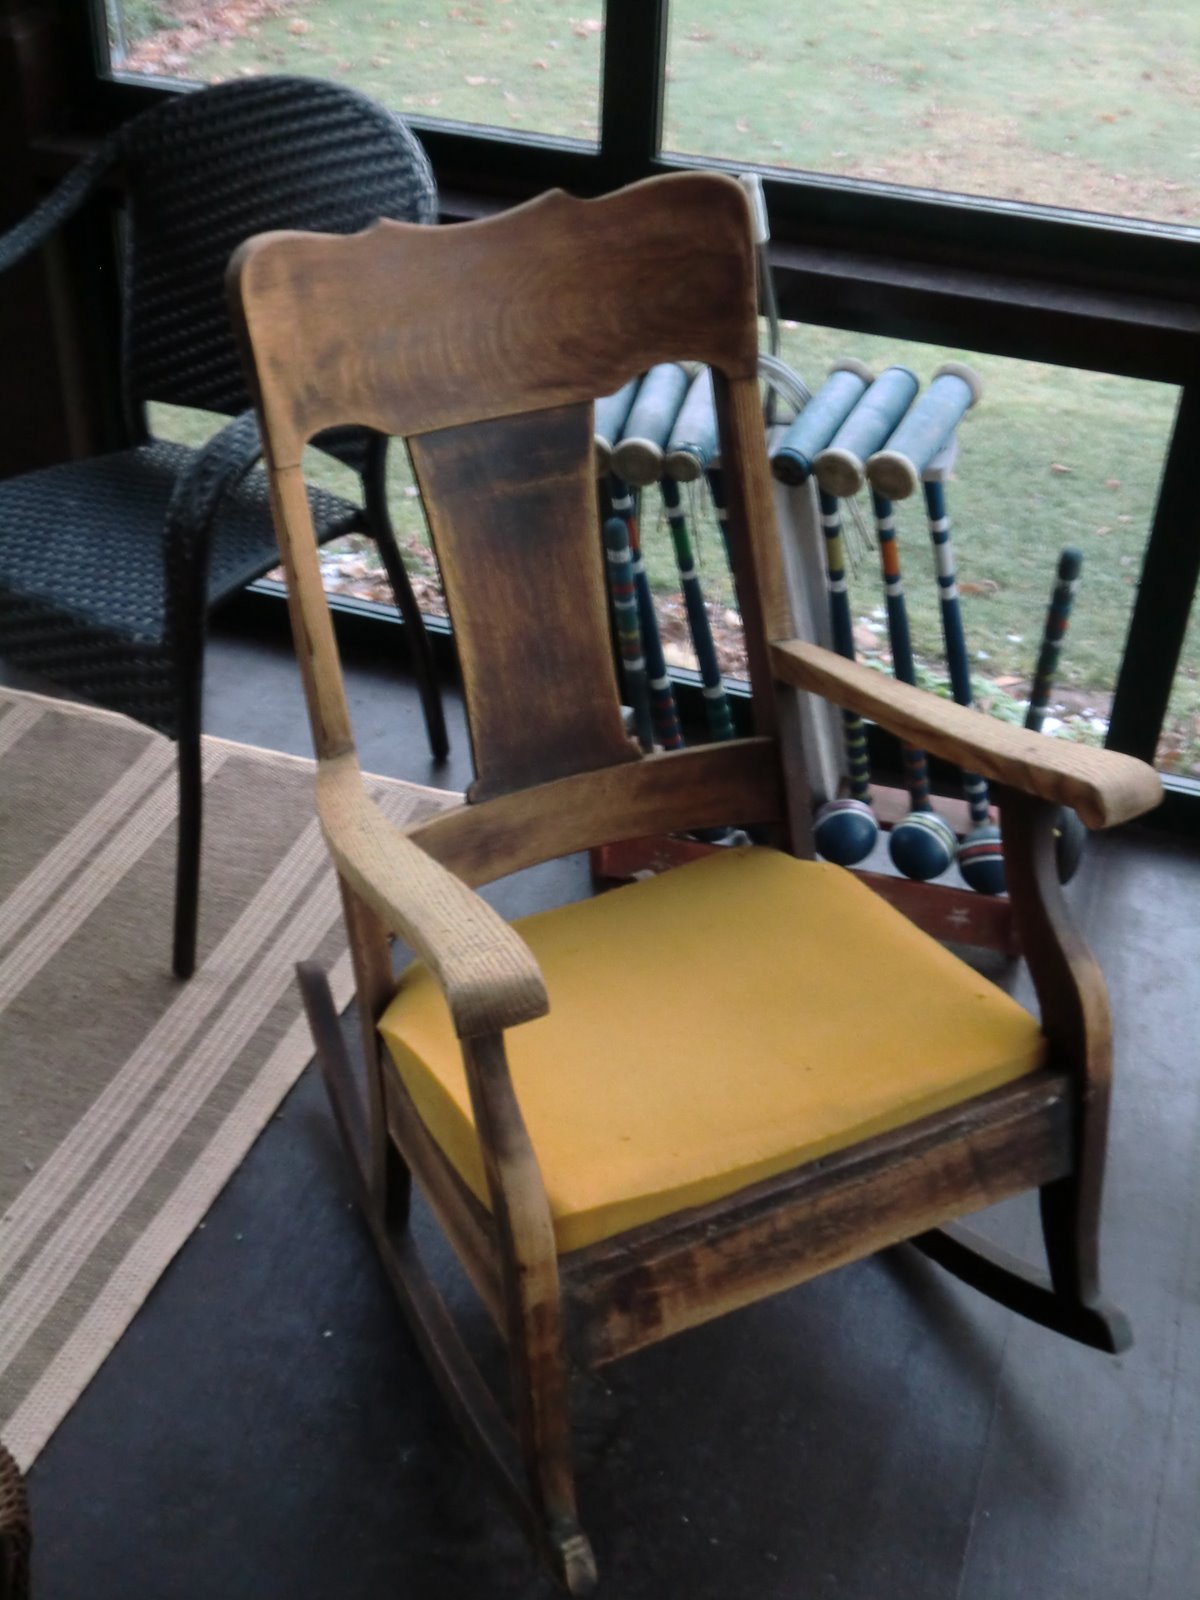

Thanks for looking.
I'm linking up to Lit and Laundry's Finished for Friday. Check out the other projects!
Kathy