I bought this stripey top at a TS from the 25 Cent rack. I knew it would be too long, but I'd been wanting to do some form of the ruffles on striped tops that I've seen others do.
Here's how it ended up:
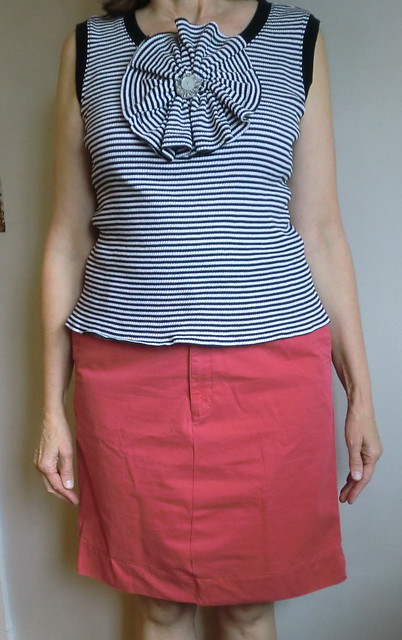
Or it could be worn like this:
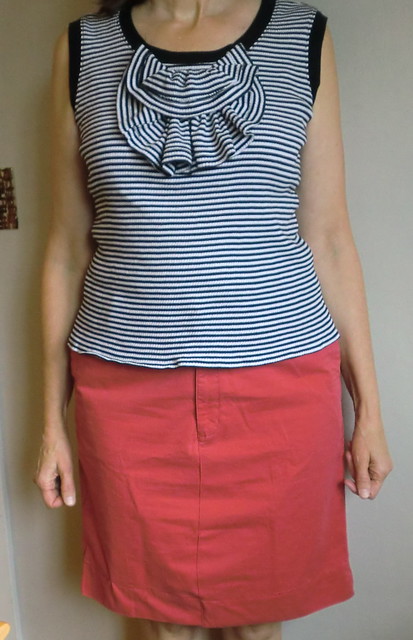
How I did it: I marked the length I wanted with a pin and cut it so I would have enough for a nice hem. Zig zagged the raw edge of the shirt then hemmed.
Then I took the piece I cut off, zigged the cut edge, made 2 lines of wide stitches along the cut edge and pulled the top threads to gather. Then I had to hand sew to gather more!
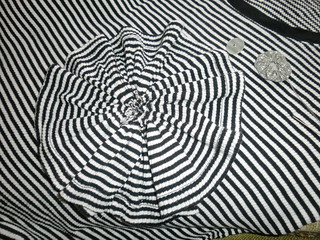
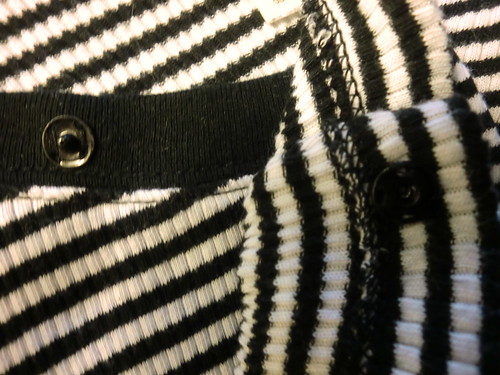
Finally I got it as small as the center would go. I looked for a button or some thing to cover the gathered\cut edge center, but didn't like anything big enough that I liked. So I made a little yo yo from a circle of b&w fabric and put a small button that I liked in the middle and sewed them in the middle of the large floppy piece.
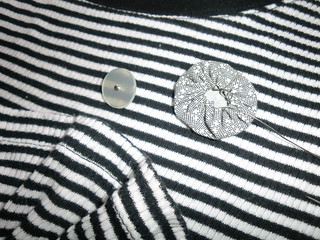
I decided that the big flower/ruffle should be washed separately so I attached it with snaps, one on each side of the neck edging. I had planned on putting one in the middle as well.
You know what? I hate sewing on snaps. So I only did the 2 and attached the top middle with a safety pin. Removing the safety pin allowed me to do the flop over alternate look too.
OK the shorts. I bought them on sale a long time ago, but have never worn them They were supposedly talls, but actually the back rise was not long enough.
I wanted to do something else, quickly. I used my seam ripper to take out the inside seams.
I was nervous about the measuring so I used a skirt that fits to make sure.
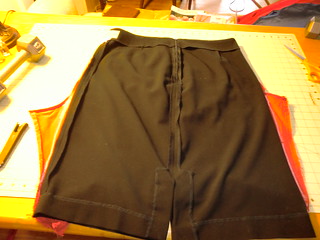
Well unfortunately the sewing wasn't as simple as I thought because the seams have top stitching. So I had to tear apart my first attempt at a new front seam, and redo it with by creating a top seam with the iron, front and back. See the top stitched seam bumpily disappearing into my regular seam?
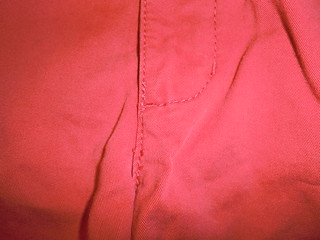
Plus the seams had turned out really off.

So I was glad to rip it out and do it over. One of the cats and the dog both helped:

I used the iron to get the front and back seams how I wanted. I had to go right up to the zipper in the front. Then I top stitched.
I also tightened up the waist by putting elastic in the back (more zig zagging):
I measured on the outside then pinned the elastic on the inside on either side of the back middle to avoid the belt loop, stretched and zig zagged out form the middle twice on both sides. I like the waist being more snug.
What do you think of the skirt? The cotton is lovely and soft. I'm more likely to wear it than the ill-fitting shorts, but I'm not sure how I feel about it!

Thanks for looking.
Kathy
I'm linking up to Motivate Me Monday at Keeping it Simple. and the Made With Love Link Party at Sew Chatty . Check out the fun ideas and crafts!




Love the ruffled placket effect you get when you "flop" the ruffle, very chic!
ReplyDeleteI like it flopped over the best.
ReplyDeleteCute skirt idea!
thanks for sharing..
ReplyDeleteWell I think they are really cute. :-)
ReplyDeleteI love both of these :) I think the top is adorable, so much so I might make one each for my little girls and make head bands to match! Thank you or the inspiration!
ReplyDeletewww.facebook.com/angelfairydustrefashionsuk
Xx