I owe everything I know about making these to the wonderful people at the Garden Junk forum at Garden Web.
The first step is to get some dishes. I favor clear and colored glass because they sparkle in the sun, but I'll make an opaque and ceramic one today too.
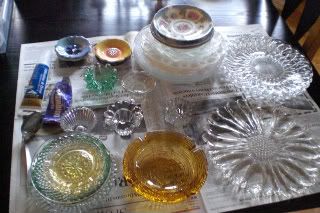
A rule of thumb, is 1 dinner plate, 1 small plate or bowl, and 1 center/candle votive or salt cellar. I buy what I call "daffodil" votives when ever I see them for less than $1 (I prefer 50 cents or less).
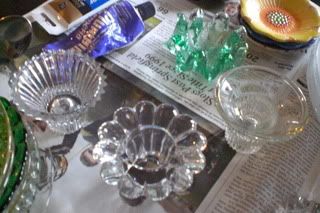
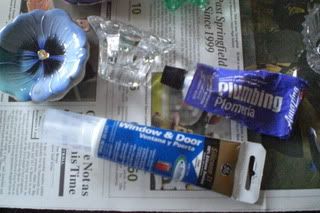
For adhesives GE silicone II for Windows & Doors, Clear. And I'm going to use Plumbers goop on a metal holder. Check the date before you buy! Sometimes it goes bad. There are some people who drill holes in the center with a ceramic/diamond bit. This tute is for the silicone method. Keep a rag or paper towel to wipe silicone off your hands but try not to get it on them.
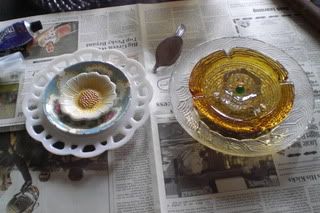
Then once you have the materials: protect your surface, work where you have ventilation, and begin to pile up plates and votives to find a look that is pleasing to you. I had made a flower about a week ago to test a new idea I had of attaching the flower to a flat sided bottle which would go onto the "stem". Since it was experimental I didn't use my favorite plates. A cool thing about this method is another flower can go on the other side of the bottle. So I decided to create a similar flower for the other side today. I also decided to use some opaque and ceramic dishes because I know my vintage-loving friends are interested in using that sort. Here is what I came up with.
Gluing: Lay the largest (back) plate in front of you. Take the next plate or bowl and put it on the largest plate where it will go. Notice where the medium plate contacts the larger plate, this is where you want the ge silicone to go. You see here my medium plate has a rim on the bottom. I put ge silicone along that whole rim, being careful not to leave any gaps for moisture to get in. GE silicone ii for windows and doors dries slightly opaque which bothers some people, but it last through NH winters!
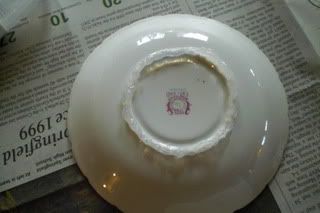
Then carefully place the siliconed plate in the center of the big plate, pushing in gently until the plates are in contact. Next test the little center plate on the medium plate which is now glued to the big plate. Its four little feet fit inside the indent on the medium plate which is good, but I need to fill in the gaps between the feet, as you see here. I put lots of silicone in between the little feet, up to their level, and less on the feet themselves.
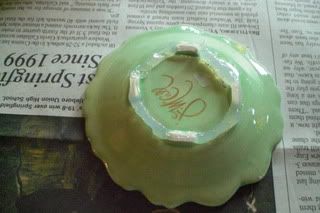
Press it gently and firmly into the center of the medium plate. Now it has to set up. It doesn't take long to start to firm up, but should be left for the day to ensure total curing. But if it doesn't begin to set up within 10 minutes, your silicone is bad and you should return it.
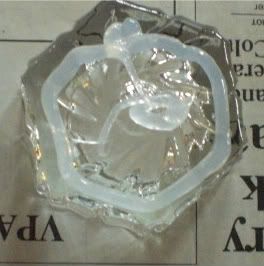
Now same process with the glass plate. I used some extra silicone in the center of the gold ashtry because it is so heavy. The center piece here was flat, but I still want a solid seal, so I show a pic below of how I did the silicone. I put a green marble in the very center because there was a rounded gap. If it had been flat I may have glued a glass glob.
Here they are. The glass one I'm showing with the back of the one I made last week, you can see the flat sided bottle that I am going to attach it to.
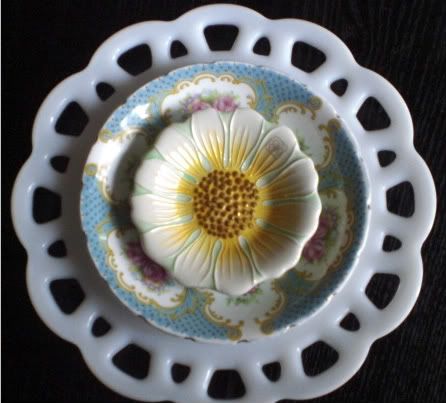
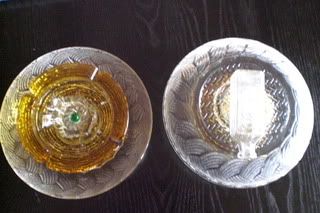
Now they both have to sit. I'll post the final steps on Tuesday when I put them in the garden!
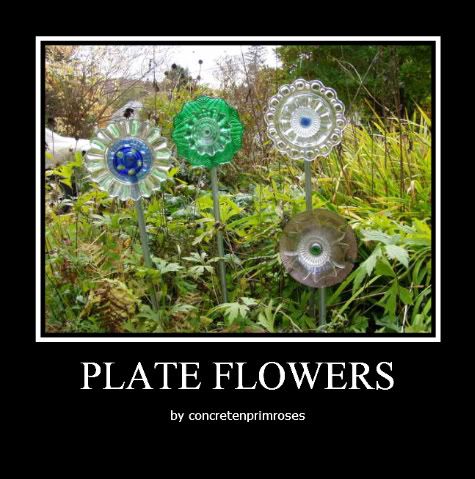
If you want to look at more plate flowers, here is a link to search results at Garden Web's Garden Junk forum for "plate flower". Scroll down to see the threads.
See you Tuesday!
Kathy


yea! woohoo!!! I have been so waiting for this. I appreciate it SO MUCH!!! When you are finished, may I feature you on my blog? I totally love these!
ReplyDeleteThank you so much Jan. I would love to be featured on your blog.
ReplyDeleteKathy
Encantadoras essas flores de pratos. Lindas!
ReplyDeletewow these are really beautiful!!
ReplyDeleteSomeone described this to me yesterday and I was so excited to see your pics and our tutorial. I especially like the tutorial showing the use of silicon, as I am not that crazy about the drilling idea.
ReplyDeleteSomeone asked how they are holding up. Great!
ReplyDeleteSome I made more recently though - must have gotten a bad tube of silicone and a couple fell apart :(.
awesome site...thanks!
ReplyDeletewhich works best for you: the glass bottle back or the flattened spoon?
ReplyDeleteHELP!! I made 30 of these for a fundraiser to raise money for the burn unit here due to 14 kids seriously burned in a fire and all my plates are falling apart. I cleaned them, used the epoxy's you described, plenty of it! How long do you suggest they will have to dry? I did them 7-10 days before my fundraiser, and I hung them all up on the posts, and every few minutes one would drop a cup, or saucer and cup would fall off. It was so embarrasing. stites2006@msn.com for any ones suggestions!!!
ReplyDeleteI haven't tried it yet so I'm curious what the answer is to Anonymous that said her plates fell off usin the same silicone. What happened? Sugggestions? Thanks
ReplyDeleteUse LEXEL Adhesive, found at Lowes. Works Great. Have patience & let it sit 24-36 hours before you stand your piece upright.
ReplyDeletethank you for sharing that tip :-)
DeleteUnfortunately I have had trouble with Lexel. I have found that you need to check the date on the silicone and make sure that it is no where near the end date.
ReplyDeleteI had dismal success with the silicone adhesive suggested in this post. After trying one or two other glues as well, I gave up and drilled all of mine. You might break a few plates, but it's better that they're broken first, than gluing them together, mounting them, having them fall off and all break!
ReplyDeleteI still own some of the ones in this post and they are holding up 7 years later. I have had a few fall apart, but only after many years. I think your silicone must have been too old. Its also possible that they have changed the formula since I last made plate flowers. I want to try drilling too, to make much more intricate structures. Good luck!
ReplyDelete